
I used this tutorial from Thrifty Fun to get started. These are pretty time consuming, but they go great with a glass of red wine and some Desperate Housewives on the DVR. Plus, they look AMAZING on the tree.

I used this tutorial from Thrifty Fun to get started. These are pretty time consuming, but they go great with a glass of red wine and some Desperate Housewives on the DVR. Plus, they look AMAZING on the tree.
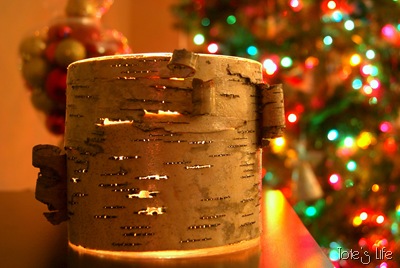 I’ve had this fun craft from Project Pretty bookmarked for over a year now. I struggled for quite some time with where to get the birch bark. I had my eye on the neighbor’s birch tree, but she vented to me about the kids ripping the bark off her tree, so I figured that probably wasn’t the best idea.
This past spring, we went Morel mushroom hunting up in Lewiston. We were about a week too late to do any good hunting, but I did snag up some birch bark while traipsing through the woods.
I used a leftover vase from a friend’s rehearsal dinner this summer. I ended up having to use some Mod Podge to get the bark to stick, as the spray adhesive just wasn’t strong enough in spots.
The soft glow of this luminary is perfect for the holiday season!
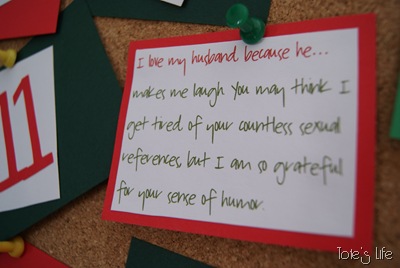
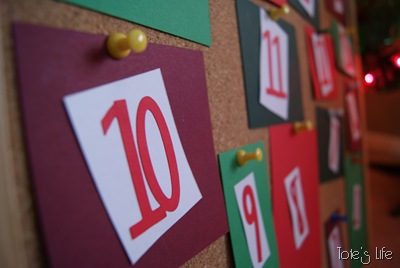
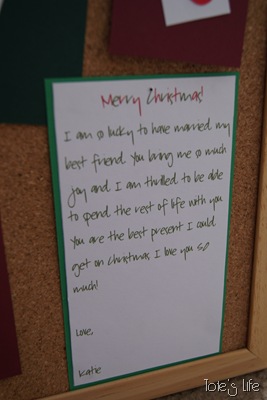
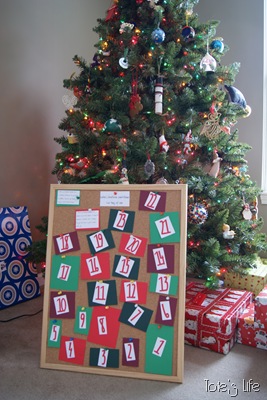 I wanted to do something special for Mr. Tote for Christmas this year. When I saw this Spouse Christmas Countdown on Dating Divas, I knew it would be perfect! What I didn’t anticipate is how long it would take me to actually construct a countdown telling him all of the things I loved about him. Coming up with the reasons was the easy part. Assembly was a different story.
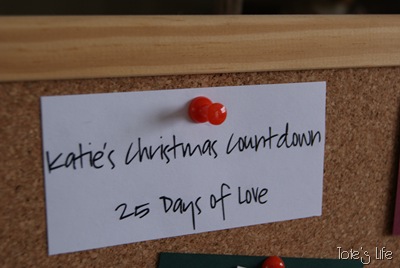 I texted him to say I was working on something special and for him to call me half an hour before he was due home from work. When he called, I was right in the middle of making it!
 So I told him to find something to do for an hour and then to call me. An hour later he called… the kitchen table was littered with scraps of paper, the Cricut machine, glue and scissors. “Give me 45 more minutes,” I said. He called again, 45 minutes later.
 Blast! Still not done. So I told him to come home but to wait in the garage. So he bought some eggnog and spiced rum and sat in the car in the garage for a good half an hour before I was finally ready to reveal my surprise.
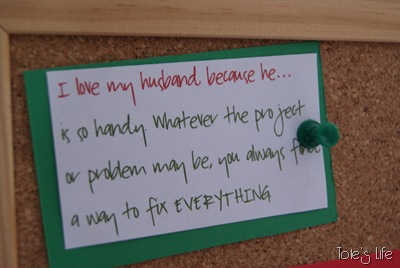
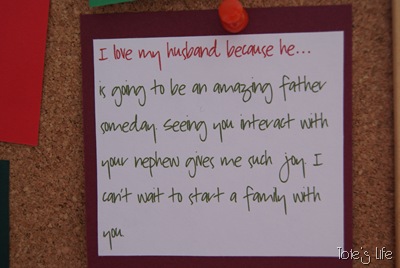 I love the way this turned out and I think he does, too. Each day, he gets to turn over the appropriate number and find a special note from me, describing one of countless reasons I love him.
 I love the Christmas season! This is going to be so much fun!

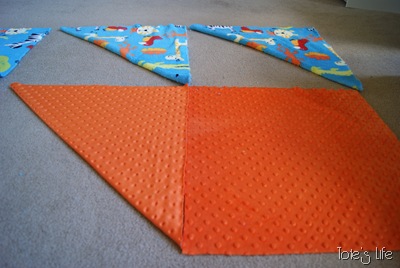
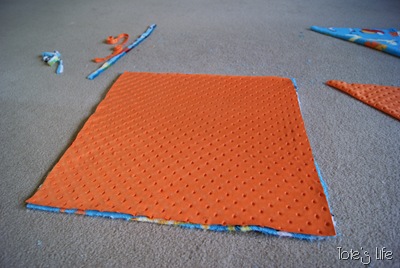
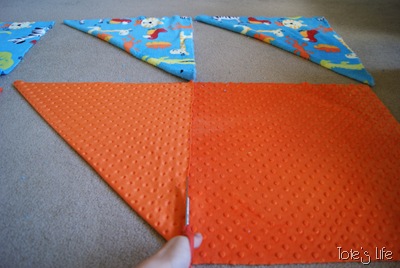 2. Lay your fabrics together. If there is and “inside” to the fabric, make sure these oppose each other (i.e. have the right-side-out of the fabric face the inside).
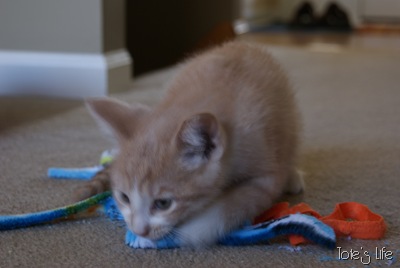
 3. Keep foster kittens from messing with your ribbon (if applicable).
 4. Pin your fabric together.
 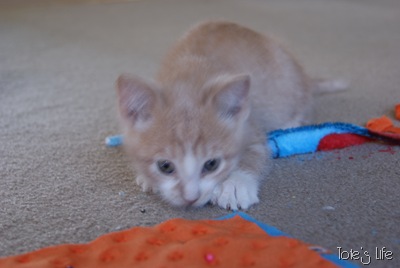 5. Lay your ribbon out around your blanket (not necessary, but it helps when visualizing the finished product.
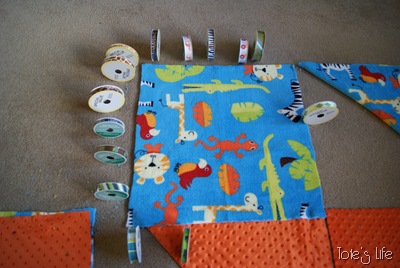 6. Cut 16-20 pieces of ribbon, 5-6” long each.
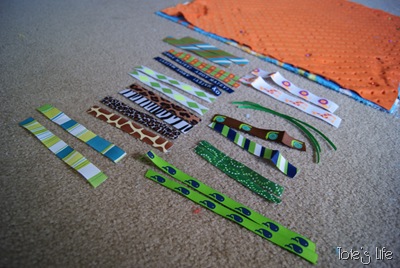 7. Lay your ribbon around the blanket (again, for visualization purposes).
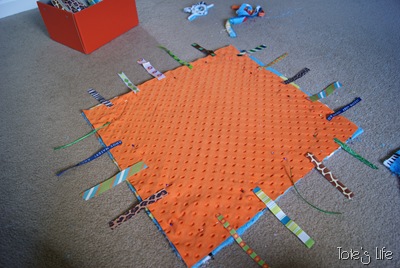 8. Fold your ribbon in half right-side-out, and pin between the two layers of fabric with the cut ends facing out and lining up with the perimeter of the fabric.
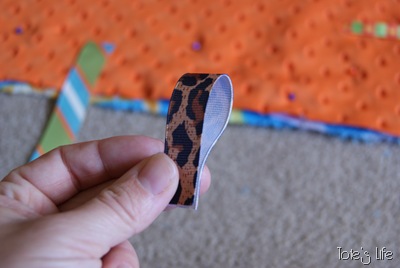
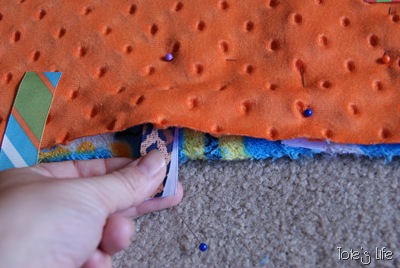 9. Once you have all the ribbons secured, sew a 1/2” seam allowance around the perimeter of the blanket, leaving a 3” hole to turn the blanket inside out.
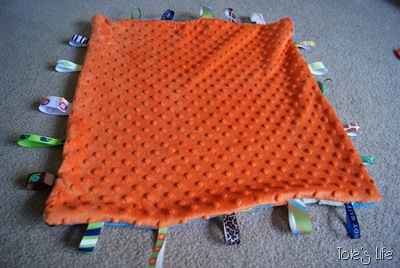
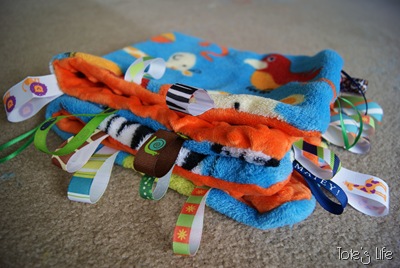
It may be too late to craft something like this for this year, but keep this one in mind for next year! My sister-in-law is pregnant with our second nephew. When I heard that she and her husband were coming to a Halloween party with us this past weekend and didn’t know what to wear, I jumped into action (naturally).
In my research for the coolest pregnant women costumes, I came across this. Slightly morbid, yet too creative to pass up.
So I went to work on it. Our local Volunteers of America store was having a half-off everything sale and how could I possibly resist!?!
Blue T-shirt: $1.00
Beat up baby doll: $0.30
I had her try on the shirt and I marked it to tell where the arms and legs should go.
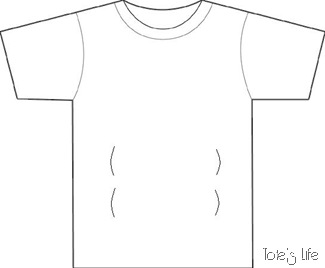 I cut small slits so I could poke the appendages through the shirt. After dismantling the poor baby doll, I stitched each body part to the shirt using the fabric that held the baby doll’s arms and legs to the torso.
And not wanting to be too morbid, I added a small ‘trick or treat’ bag to the baby’s hand.
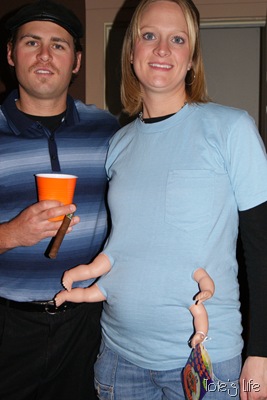
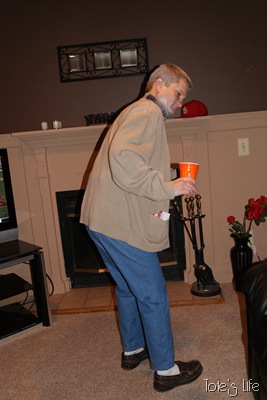
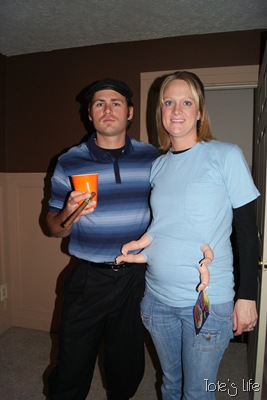 Mr. Tote and I in 50 years…
 We won for ‘funniest costume’ at the party we went to. I pinned our badge of honor to Mr. Tote’s rockin’ suspenders.
 The old man likes his keg beer.


I’ve been sitting on this recipe for about a two years. It came across in one of my Hungry Girl emails quite some time ago and I finally decided to make these cuties while digging through my cookbook for my taco soup recipe. Just in time for Halloween tomorrow!
Meringues are a tricky dessert to make… as evidenced by Attempt #1, which was a complete failure. See, one of my yolks broke in the bowl and I managed to remove about 98% of the yolk, but that pesky 2% killed my meringue. Having never made them before, I had a hunch that they wouldn’t turn out, but I baked them anyway. Two hours later, I admitted defeat and started over.
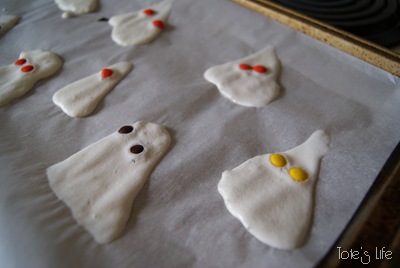 Attempt #1 – don’t they look like sad little ghosts?
This time, I separated the eggs in a different bowl than the one I was using to whip the ingredients together. This allowed me to crack one egg at a time before adding it to my large bowl. I didn’t end up breaking any of the yolks, but I’m glad I took the extra precaution instead of wasting another batch.
(adapted from HG’s Ghost-with-the-Most Meringues)
3 large egg whites
1/3 C granulated white sugar
1/3 granulated Splenda
1/2 tsp vanilla
1/4 tsp cream of tartar
mini Reeses pieces
Preheat oven to 200 degrees. Line 2-3 large baking pans with parchment paper.
In a large glass or stainless steel bowl, combine egg whites and cream of tartar. Using an electric mixer set at high speed, beat until fluffy and slightly stiff, about 3 minutes. Continue mixing with your electric mixer, and gradually add the sugar and Splenda until completely combined. Add the vanilla and continue mixing until blended.
If your mixture doesn’t look like this…
Using a spatula, transfer all the meringue mixture to a large plastic bag. Squeeze mixture down toward one bottom corner of the bag. Snip that corner off with scissors to create a simple piping bag.
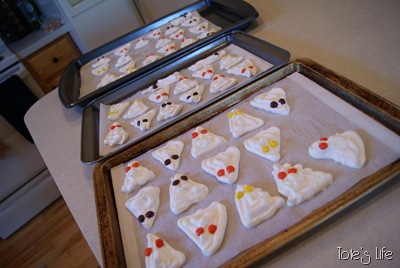
Pipe mixture onto the parchment paper in ghost-like shapes about 3 inches long. Use the tip of your piping bag to smooth mixture and make sure the ghost shapes are filled in solidly.
Place 2 mini Reeses pieces on each ghost for eyes.
Bake in the oven for 70 minutes. Turn oven off and allow meringues to set in the oven for 1 hour.
WW Points per serving (2 meringues): 1 point
Who’s the cutest little dinosaur I ever did see??? Well, that would be my adorable nephew Calvin, who will be 2 years old in December.

I found a basic white chocolate chip cookie recipe on allrecipes.com and modified it based on user comments, along with adding hazelnuts.
I was surprised that they didn’t settle into flatter cookies, like most other recipes. However, I think that’s what makes them extra yummy! The outsides are slightly hard and the insides are super moist and chewy.
I am seriously going to be making these again and again and again.
1 C butter, softened
2/3 C white sugar
2/3 C brown sugar
2 eggs
2 tsp vanilla extract
2 1/4 C all-purpose flour
3/4 C unsweetened cocoa powder
1 tsp baking soda
1/2 tsp salt
1 1/2 C white chocolate chips
1 C chopped hazelnuts (sometimes called Filberts at the store)
Cooking spray
Preheat oven to 350 degrees
In a large bowl, cream together the butter and sugars until smooth.
Beat in the eggs, then stir in the vanilla.
Combine the flour, cocoa, baking soda and salt. Stir into the creamed mixture.
Fold in the white chocolate chips and chopped hazelnuts. Using a tablespoon measurement, form the dough into balls and place onto greased cookie sheets.
Bake for 10 minutes in the preheated oven, until cookies are set. Allow cookies to cool on baking sheet for 5 minutes before removing to a wire rack to cool completely. Makes about 40 cookies.
OK, I promise I will get back to posting more regularly. My job situation has recently changed and I suddenly find myself with ample amounts of free time. I HAVE LOTS TO SHARE WITH ALL OF YOU!
First… this past weekend, Mr. Tote, my mom and my aunt set out for Grand Rapids to take advantage of two world-renowned events/exhibits – ArtPrize and Chihuly. More on ArtPrize later.
Dale Chihuly is a world-renowned glass artist. And his work is currently being featured at Frederik Meijer Gardens and Sculpture Park. We spent about three and a half hours there, exploring Chihuly’s pieces. Truly amazing. Below are some pictures I took.
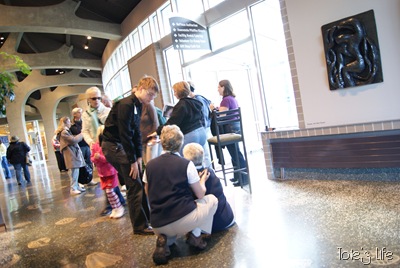 Mr. Tote took this one. He likes to call it “Fallen Lady Hurt Shoulder In Motion.” The woman who was stamping hands for guests to enter the gardens fell off her chair and complained of shoulder pain (uhh, hello!!?!? Heart attack?!!?) While the staff were attending to her, my mom and aunt quickly stepped in to stamp hands. Note my mom in the purple shirt in the doorway and my aunt in the black hoodie next to her.
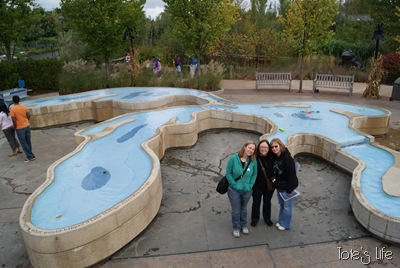 Standing in the middle of the Great Lakes exhibit.
 Standing underneath the 24 ft tall American Horse
 Red Reeds
 Summer Sun
 Summer Sun
 Summer Sun
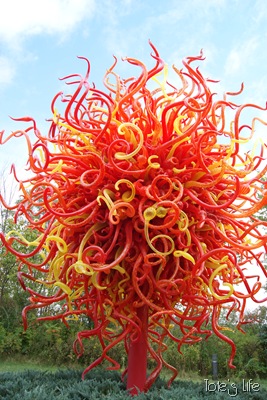 Summer Sun
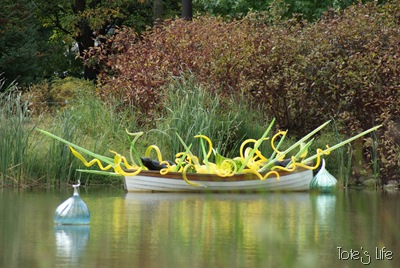 Yellow Boat
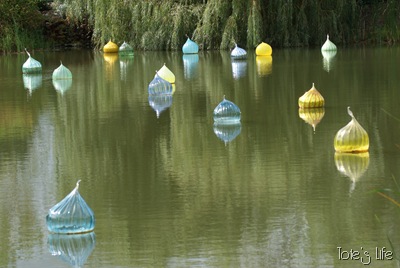 Walla Wallas
 Saffron Tower
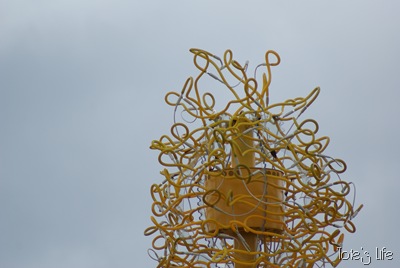 Saffron Tower

 Neodymium Reeds and Herons
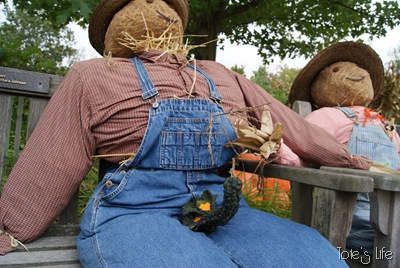 Always the jokester, that Mr. Tote is…
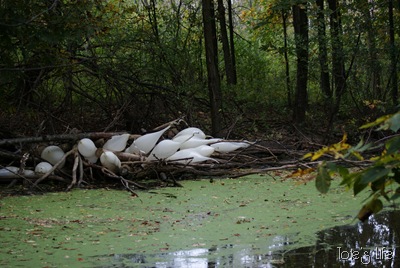 White Belugas
 White Belugas
 Blue Polyvitro Crystals
There you have it. I could go back every day. These pieces are mesmerizing and breathtaking. The weather was mostly cloudy while we were there, but the few glimpses of sun that we got really made the sculptures shine.
Up next? We spent the weekend in Grand Rapids not only for the Chihuly exhibit, but also for ArtPrize. More on that soon!
